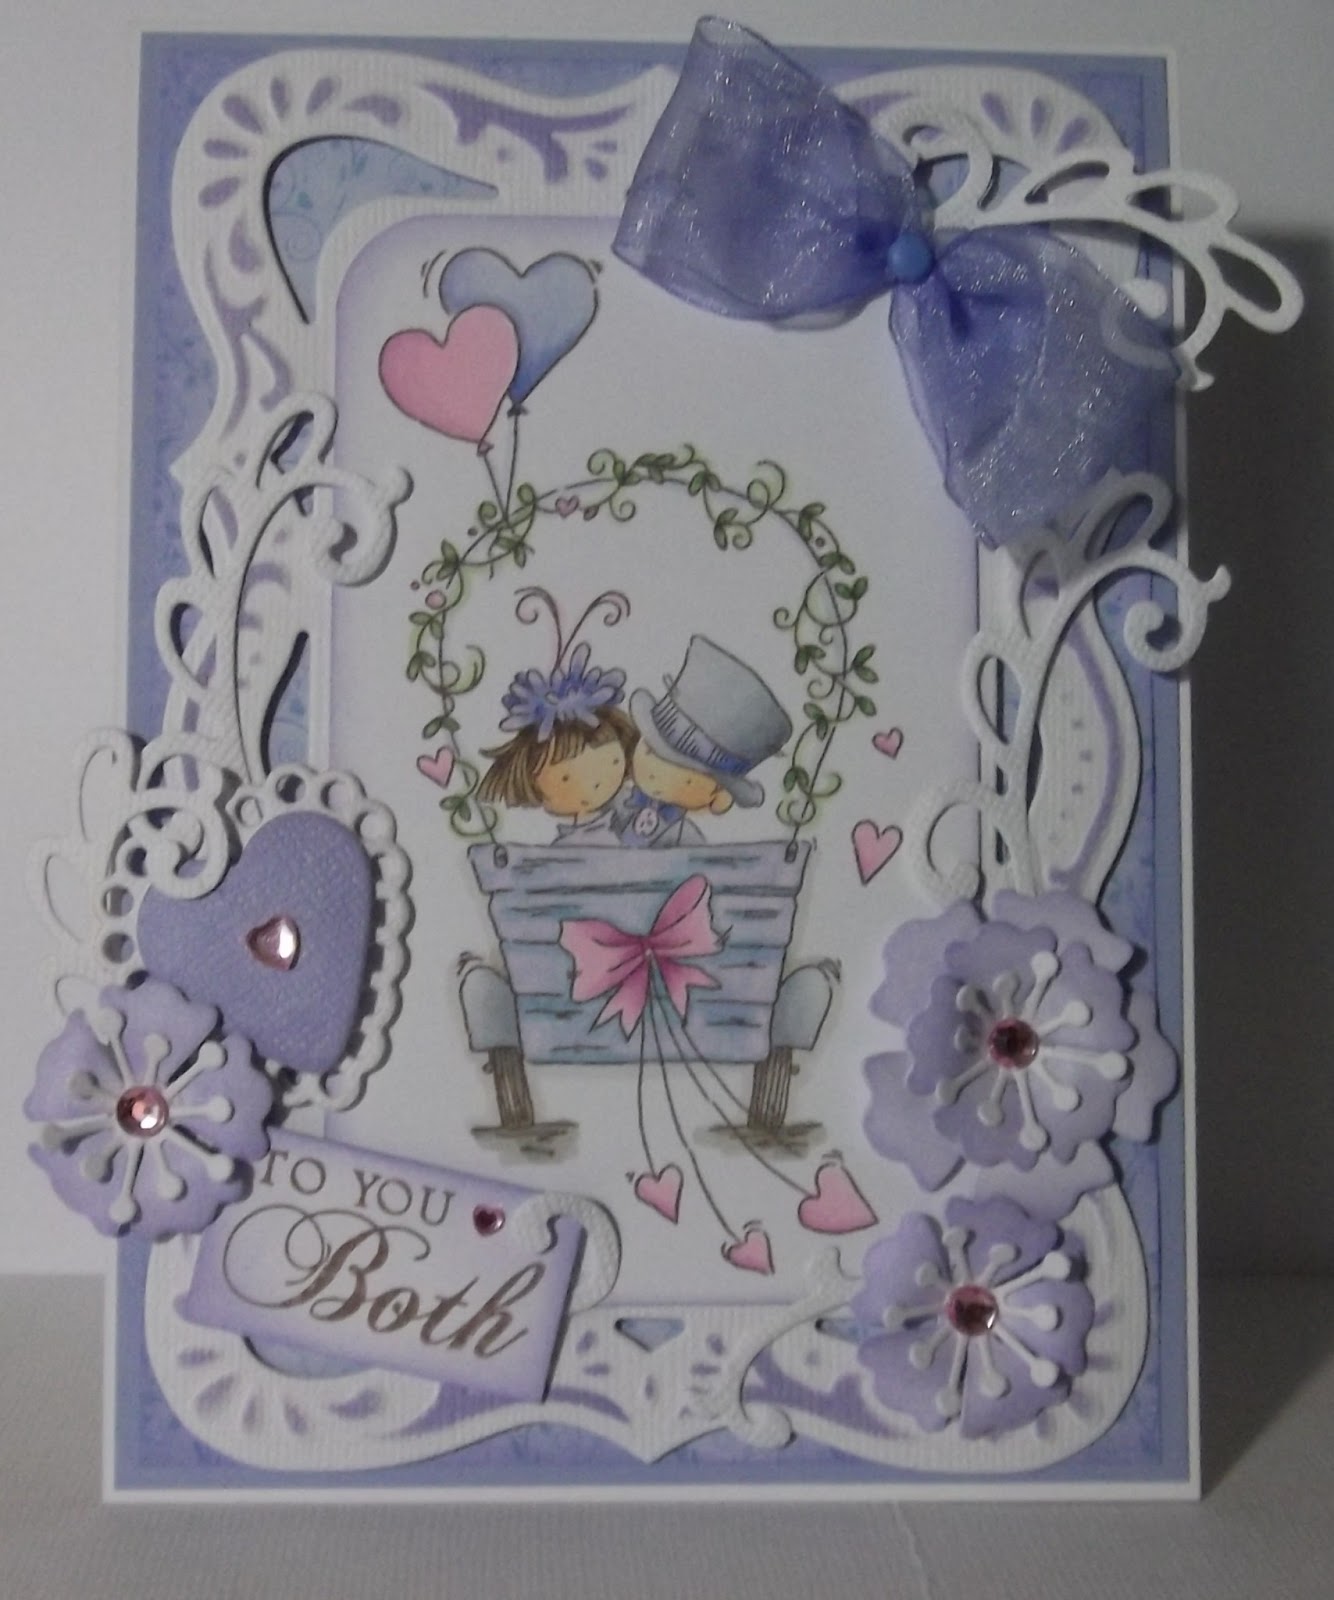
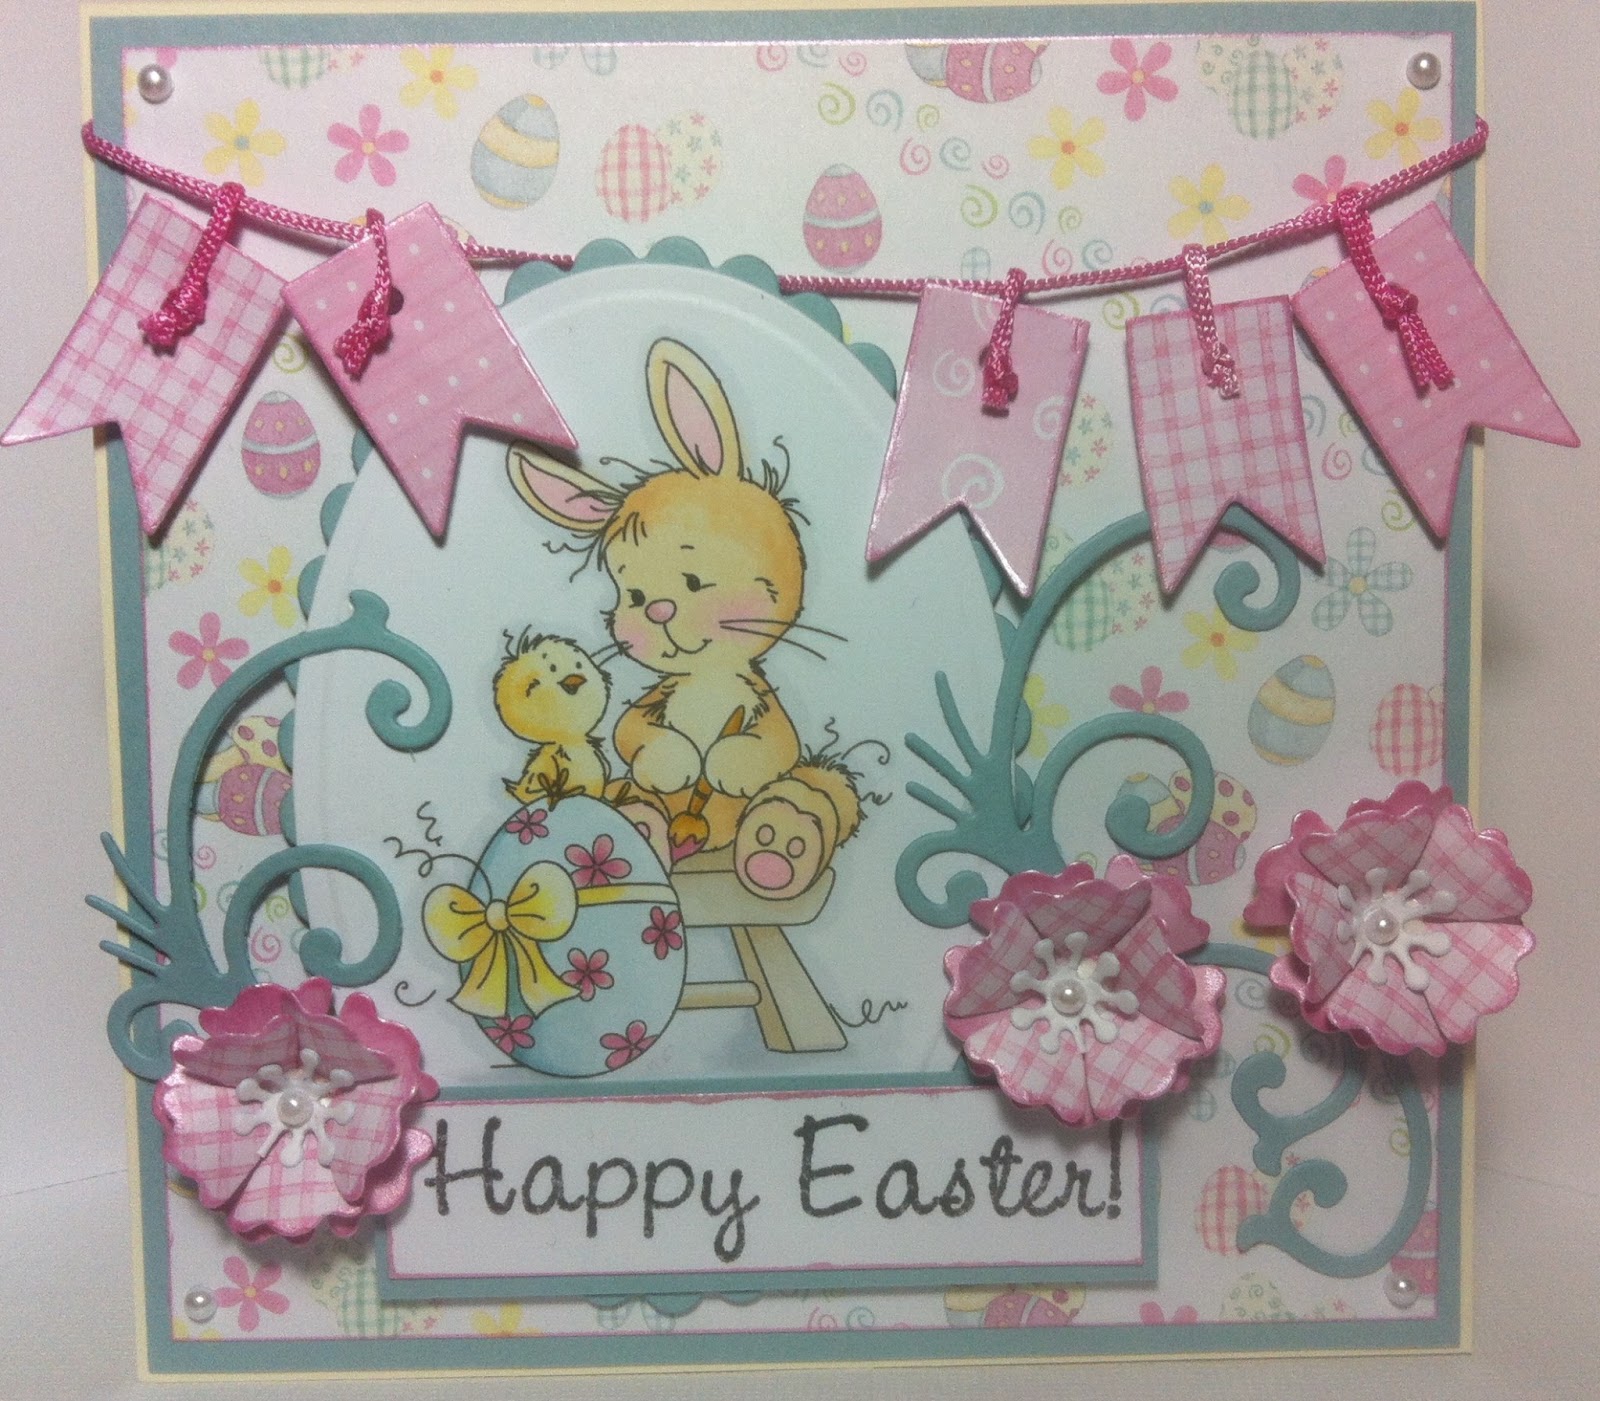
Well here's my table, what a mess! Everything has just been piled up and not put away - I'm a bad girl! But I do have an excuse .. ..


To show you, I've used a gold paper. For the larger flower you will have to snip in towards the centre so it looks like the cut smaller one.
To create the shape you start by rolling the sides of the petals, one edge under and the other edge upwards. You can see the smaller flower on the top I've done both sides of the petal but on the larger flower at the bottom I've just started and only done one edge .. .. ..

Once you have finished rolling you need to press the centre of the flower with a ball tool to create further shape .. .. ..

Then turn over and glue the bottom of one of the flowers before sticking the two together. Try to stagger the petals so you get more detail. Use the ball tool again to press into the centre to make sure the two pieces are stuck together and to redefine the shape again .. .. ..

Finish off your flowers with a punched or diecut stamen and a gem. Here you can see I've finished the gold flowers but still have to add the centres to my white ones. I hope you found the pictures helpful, it was difficult to decide what to show .. .. if you have any questions please just shout!
Now it's back to the DIY.